The Ultimate Balance Bike Sizing Guide
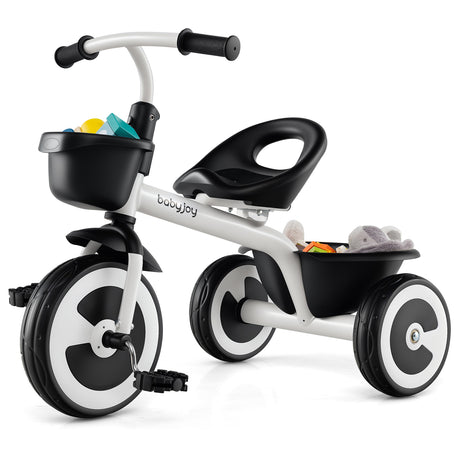
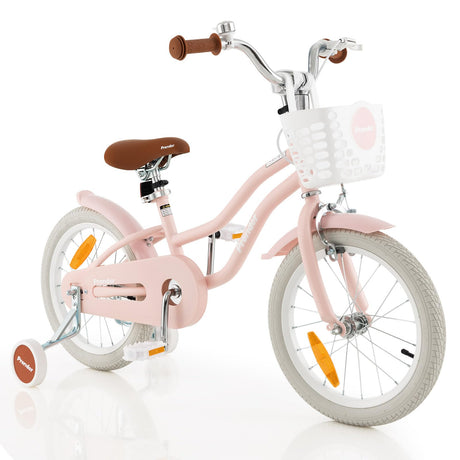
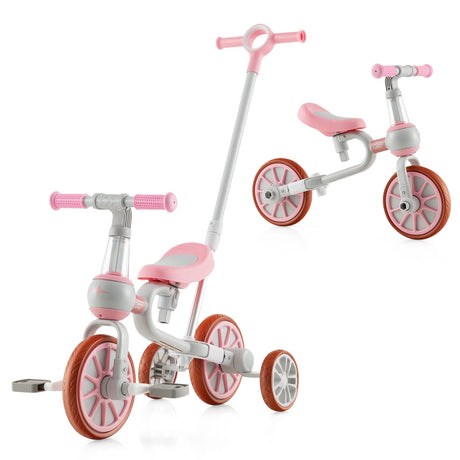
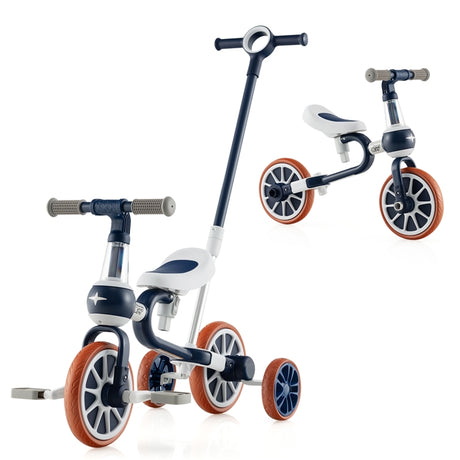
Balance bikes are the smartest way to teach young children balance and coordination before they tackle pedals. Many Australian parents like these pedal-free bikes. They come in different shapes, from light metal frames to stylish wooden ones.
This guide includes help from pediatric physical therapist Dr. KC Rickerd. This will help you choose the best option for your child's first outdoor adventures. This includes playing on grass, park paths, or driveways.
Why Proper Balance Bike Fit Matters in Australia
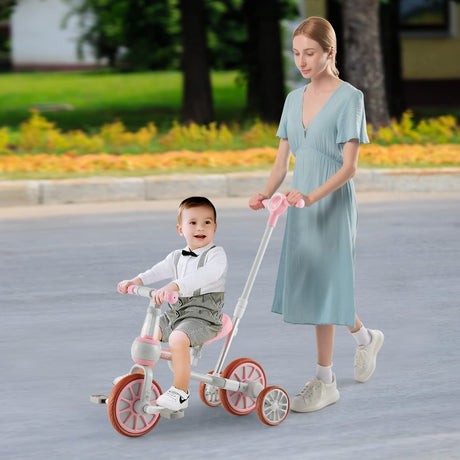
A well-fitted balance bike lets your toddler sit with both feet flat on the ground, push off easily, and glide with confidence. Dr Rickerd explains: “Once a child is steadily walking independently, they may be ready to explore a balance bike.”
In Australia, outdoor areas can be fun for kids. Cependant, si un vélo est trop encombrant ou lourd, cela peut ruiner leur enthousiasme. The right size ensures safety, builds confidence, and makes every ride enjoyable—no matter the terrain.

When Is Your Child Ready for Their First Balance Bike?
Key Developmental Milestones
- 12–18 months: First independent steps
- 8–24 months: Steady, confident walking (often the ideal time to introduce a lightweight model)
- 2–3 years: Can briefly stand on one leg (a strong sign of readiness)
Tips for Australian Families
Children here often ride on grass, pavers, or slight inclines. Wait until your toddler walks with ease and shows curiosity about bikes or wheeled toys. Rushing too early can lead to frustration, while the right timing sets them up for success.
Balance Bike Sizing Chart: Age, Inseam & Wheel Size
Age is a helpful starting point, but inseam measurement is the most reliable indicator. Use this simple chart to match your child to the right bike:
| Age Range | Inseam | Min. Seat Height | Wheel Size | Recommended Use |
| 18 months – 2 years | 25–30 cm | 23–28 cm | 8″–10″ | Ultra-light frames for first-time walkers |
| 2 – 3 years | 30–35 cm | 28–33 cm | 10″–12″ | Easy step-over design for confident pushers |
| 3 – 5 years | 35–45 cm | 33–43 cm | 12″–14″ | Suited to park paths, light grass, and driveways |
| 5+ years | 45 cm+ | 43 cm+ | 14″–16″ | Transition-ready with optional pedal kits |
Fit Tip: The seat at its lowest should sit 1–3 cm below your child’s inseam—ensuring flat-footed control.

How to Measure Inseam for a Perfect Balance Bike Fit
- Have your child stand **barefoot with their back against a wall.
- Gently slide a hardback book up between their legs, pressing lightly against the crotch (mimicking a bike seat).
- Measure from the floor to the top of the book—that’s the inseam.
- Choose a bike where the lowest seat position is 1–3 cm lower than this measurement.
Australian Pro Tip:
After measuring, test the bike on your typical riding surface. Your child should be able to push off and stop instantly with both feet flat—essential for safety on uneven ground.

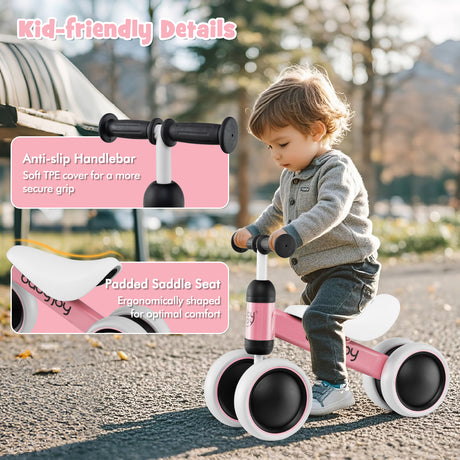
Essential Balance Bike Features for Australian Conditions
Lightweight Construction
Bikes under 4 kg (especially for under 3s) are easier to manoeuvre and lift—crucial for building independence.
All-Terrain Tyres
- EVA foam tyres: Puncture-proof and low-maintenance (great for budget options)
- Air-filled tyres: Better cushioning and grip on grass, gravel, or wet paths
Low Step-Through Frame
Makes mounting and dismounting simple—even for little legs still mastering coordination.
Adjustable Seat and Handlebars
Allows the bike to grow with your child for 6–18 months of use.
Weather-Resistant Materials
Look for rust-proof coatings and UV-resistant paint to withstand sun, rain, and outdoor storage.
Optional Pedal Conversion (3+ years)
Some models include a pedal kit for later—ideal for extending use, but avoid added weight for younger toddlers.

Balance Bike vs Training Wheels: Why Parents Choose Balance
Children who start on a balance bike often transition to a pedal bike without training wheels—sometimes as early as age 4. Here’s why:
| Benefit | Balance Bike | Training Wheels |
| Balance Development | Natural gliding and coasting | Delayed—relies on support |
| Confidence | Immediate success and control | Risk of tipping when removed |
| Skill Transfer | Smooth move to pedals | Longer adjustment period |
| Terrain Versatility | Handles grass, paths, light hills | Limited to flat, smooth surfaces |
How to Introduce a Balance Bike: Simple Steps for Success
- Pick a safe, flat area — a lawn, smooth driveway, or quiet park path.
- Keep sessions short (5–10 minutes) and pressure-free.
- Focus on the basics: Push with feet → Lift feet to coast → Stop with feet.
- Always wear a helmet — choose one meeting AS/NZS 2063 standards.
- Resist upsizing — a bike that’s too big reduces control and fun.
- Choose portability — lightweight models are easy to toss in the car for beach or park trips.
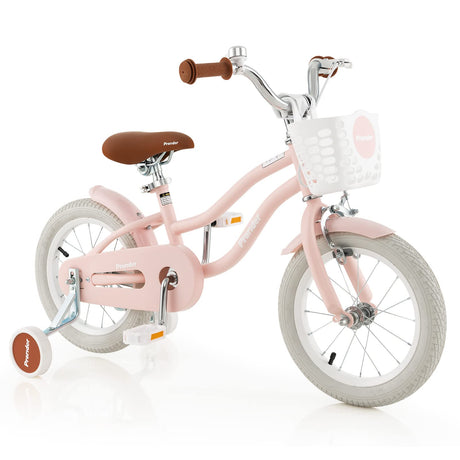
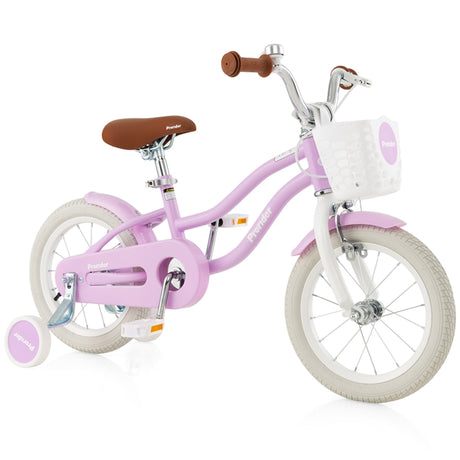
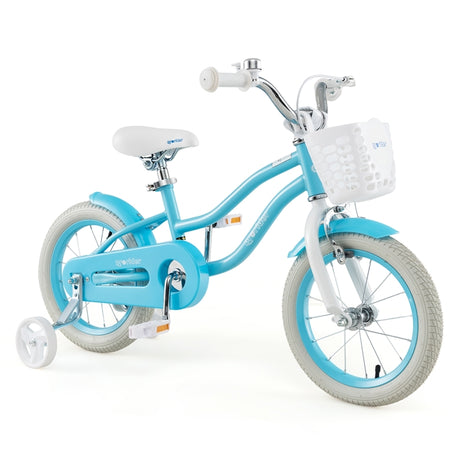
Wooden vs Metal Balance Bikes: Which Is Right for Australia?
| Type | Advantages | Drawbacks | Best For |
| Wooden | Eco-friendly, quiet ride, stylish look | Generally heavier, less adjustable | Indoor/outdoor use, design focus |
| Metal | Lightweight, durable, highly adjustable | Can rust without proper coating | All-terrain, long-term reliability |
Most Australian families prefer lightweight metal with rust protection—better suited to daily outdoor play.
Transition Timeline: From Balance Bike to Pedal Bike
| Age | Milestone | Next Step |
| 2–3 | Glides several metres, lifts feet | Continue building confidence |
| 3–4 | Coasts downhill, stops with feet | Introduce pedal bike (often no trainers |
| 4–5 | Turns, strides, and brakes confidently | Full independence on two wheels |
Final Balance Bike Buying Checklist
- Child walks steadily and shows interest
- Inseam measured; seat sits 1–3 cm lower
- Bike is lightweight (child can lift it)
- Tyres suit your local surfaces
- Helmet meets AS/NZS 2063 and fits properly
- Seat and handlebars adjust for growth
- Frame resists rust and UV damage
- Prioritise fit and function over extras

Conclusion: Set Your Toddler Up for Balance Bike Success
The best balance bike isn’t the most expensive—it’s the one your child can control. Measure their inseam, choose a lightweight frame with good grip, and match it to your local parks and paths. With the right fit and some encouragement, your toddler will go from wobbly pushes to smooth coasting. They will be ready for pedals soon.
Ready to choose? Focus on inseam, weight, and terrain suitability—your child’s outdoor confidence starts with the perfect first ride.