Before You Start
Please read all instructions carefully and keep it for future reference
Warnings
- Attention: For home use only.
- Attention: Children should use this product under the parental supervision.
- Danger: Keep all small parts and packaging materials for this product away from babies and children, otherwise they may pose a choking hazard.
- Danger: Lack of attachment may cause a risk of tipping or falling hazard.
General Warnings
- The product must be installed and used under the supervision of an adult.
- Read through each step carefully and follow the proper order.
- Remove all packaging, separate and count all parts and hardware.
- Please ensure that all parts are correctly installed, incorrect installation can lead to a danger.
- We recommend that, where possible, all items are assembled near the area in which they will be placed in use, to avoid moving the product unnecessarily once assembled.
- Ensure a secure surface during installation, and always place the product on a flat, steady and stable surface.
- Please check and maintain it regularly, and the most important part needs to be suspended, fixed, or anchored to the ground.
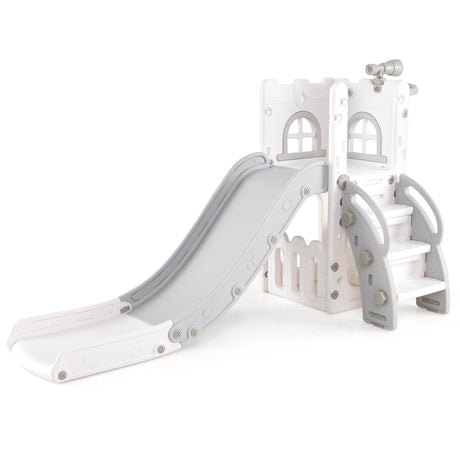
Please read the manual carefully before using this product and keep it properly for future reference

WARNING:
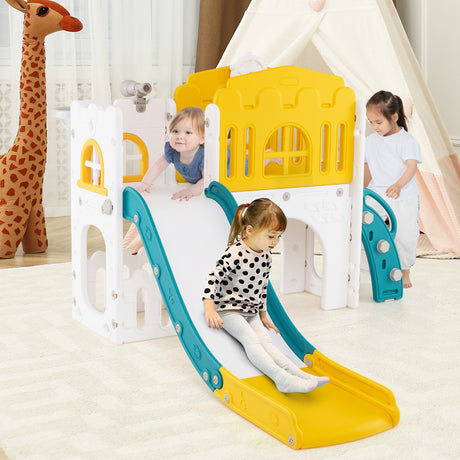
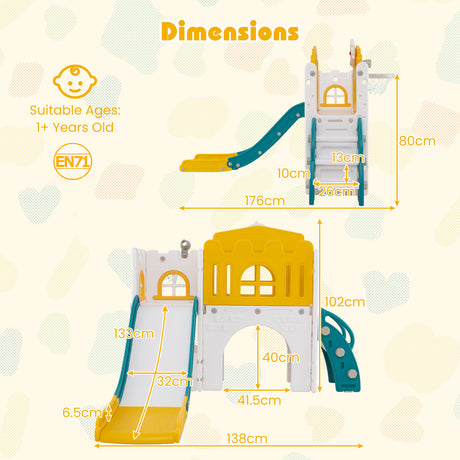
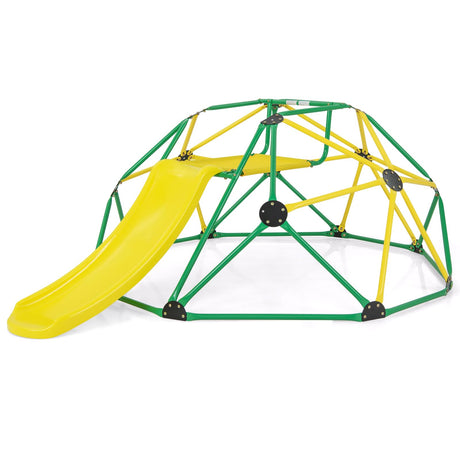
Suitable Age: 1+;
Max Weight: 30 kg /66 lbs.
IMPORTANT: RETAIN FOR FUTURE REFERENCE.
READ CAREFULLY.
WARNING:
- 1. Only allowed for adults to install, keep children away.
- 2. To be used under the direct supervision of an adult.
- 3. Keep away from fire! Keep away from water!
MAINTENANCE & CARE
- A. Keep all instructions and parts relating to this product for future reference.
- B. If any problem occurs, please contact a qualified technician.
- C. Clean your toy with a clean damp cloth.
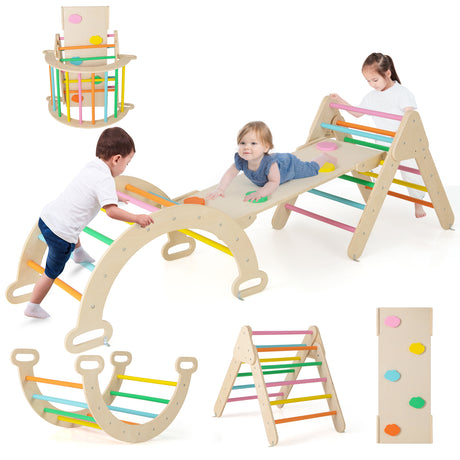
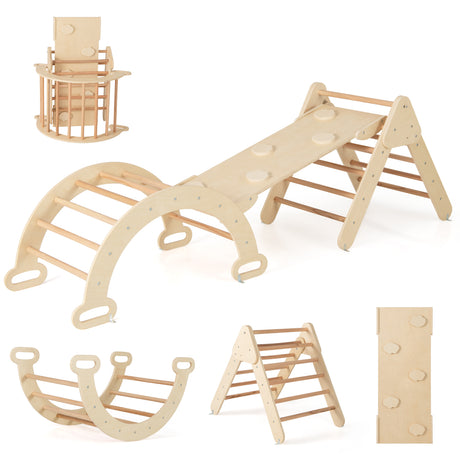
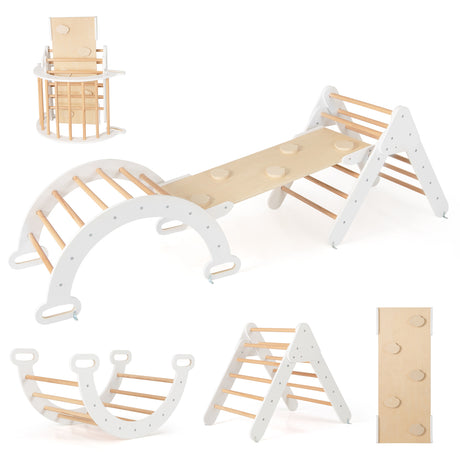
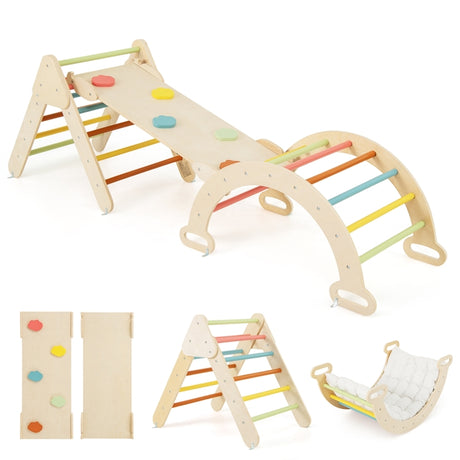
Parts List


Setup
Step 1
Secure parts A and C using e and g

Step 2
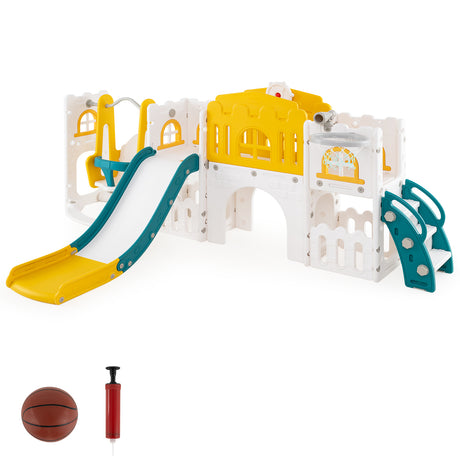
Connect parts N and O to form the complete slide.

Step 3
Attach parts A and C to the slide, and secure them with e.

Step 4
Secure parts P and part K using d.

Step 5
Secure parts H and G using d, then attach them to part K using d.

Step 6
Secure the assembled slide to the assembled parts in step 5 using c, then secure part M to the assembled parts using d.

Step 7

Step 8
Two parts L are inserted into the holes of part B.

Step 9
Secure assembled parts from step 8 to parts J using d

Step 10
- Secure part Z to part L using m, n, and p
- Connect the assembled parts from step 7 with the assembled parts from step 9, and secure them with d.
- The groove faces forward and aligns with the placement position of the slide.
- Secure part M to the assembled parts using d

Step 11
- Attach part j to the bottom of part I.
- Attach parts F and E to parts I in sequence, and secure them with b.

Step 12
- Insert Q into the designated position, then secure it with a1 and a2.
- Secure part D using d.
- Connect the assembled ladder from step 11 with the assembled parts from step 10, and secure them with d

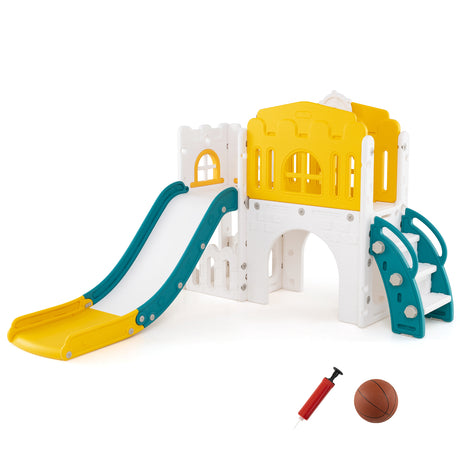
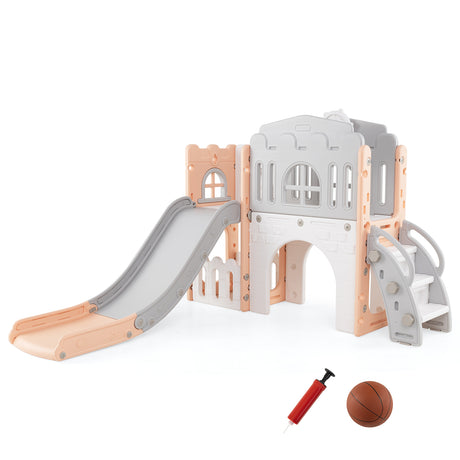
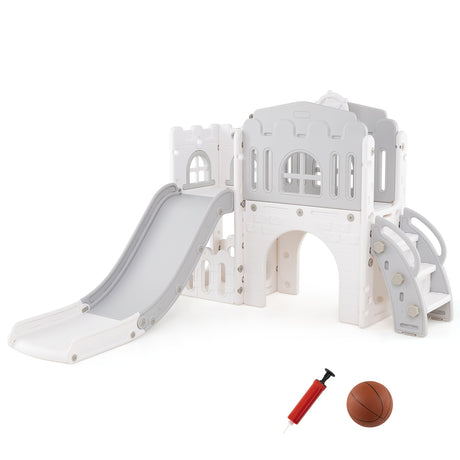
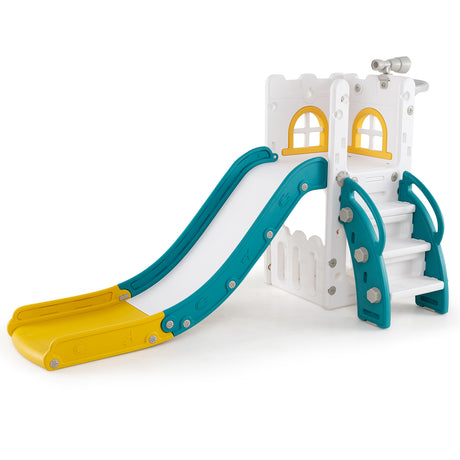
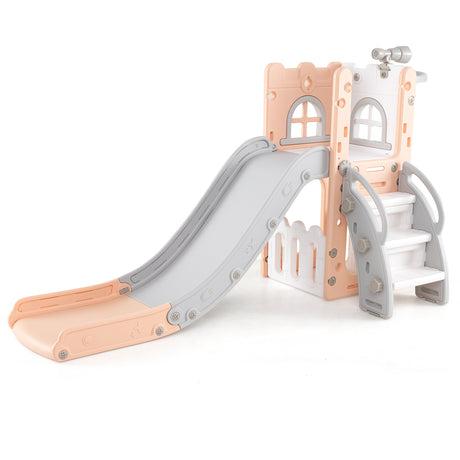
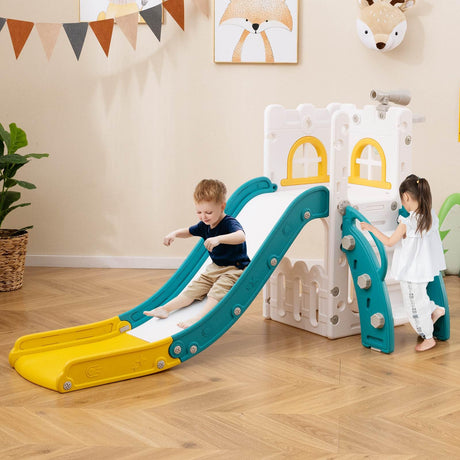
Step 13 - Finished!

Return / Damage Claim Instructions
DO NOT discard the box / original packaging.
- In case a return is required, the item must be returned in original box. Without this your return will not be accepted.
Take a photo of the box markings.
- A photo of the markings (text) on the side of the box is required in case a part is needed for replacement. This helps our staff identify your product number to ensure you receive the correct parts.
Take a photo of the damaged part (if applicable).
- A photo of the damage is always required to file a claim and get your replacement or refund processed quickly. Please make sure you have the box even if it is damaged.
Send us an email with the images requested.
- Email us directly from marketplace where your item was purchased with the attached images and a description of your claim.