How to Assemble Your BabyJoy Climbing Triangle, Arch and Ramp
A little preparation, a clear plan and one step at a time. Follow this visual guide to assemble the climbing triangle, arch and ramp shown in your supplied instruction manual.
Sort the numbered panels, bars and fittings before you start. Adult assembly is required. Keep small parts and packaging away from children, and read the full manual before working through the steps. If a part or fixing point does not match the diagram, stop and contact BabyJoy rather than improvising.
Make room for play
Choose a level indoor area. The manual requires at least 2m of separation from structures or obstructions and says not to install the toy over concrete, asphalt or other hard surfaces. Do not expose it to sunlight. Check your intended space against these requirements before assembly; this booklet does not provide the product footprint.
Everything in its place
Use the inventory on printed page 18 to identify parts 1–17. Separate screws 10 (5 × 40mm), screws 11 (5 × 55mm), connectors 12, screws 13 (M6 × 25mm), screws 16 (4 × 15mm) and plastic sheets 17. The supplied booklet has conflicting quantities in the early assembly steps, so keep both the inventory and diagrams at hand and seek clarification if they disagree.
Original diagram from the supplied TS10455 instruction manual. Select to enlarge.
1
Build the first ladder section
Connect the two panels labelled 3 with the bars labelled 5, using the 5 × 40mm screws labelled 10 at the illustrated fixing points. Check the component positions against step 1 of the manual. The printed quantities in steps 1–2 are inconsistent with the diagrams; confirm them with BabyJoy before proceeding if your parts or fixing points do not match.
Original diagram from the supplied TS10455 instruction manual. Select to enlarge.
2
Assemble the second ladder section
Connect the two panels labelled 4 with bars 5 using screws 10 (5 × 40mm), following step 2. Compare the assembly with the original diagram. Do not force a connection or substitute hardware to resolve a quantity mismatch.
Original diagram from the supplied TS10455 instruction manual. Select to enlarge.
3
Fit the first triangle side plate
Join side plate 1 to the assemblies from steps 1 and 2. The manual specifies three screws 11 (5 × 55mm), one connector 12 and one screw 13 (M6 × 25mm). Match their positions and the panel orientation to the diagram.
Original diagram from the supplied TS10455 instruction manual. Select to enlarge.
4
Fit the opposite triangle side plate
Attach side plate 2 to the structure from step 3. Use three screws 11 (5 × 55mm), one connector 12 and one screw 13 (M6 × 25mm), as shown in step 4. Check that the fittings sit at the illustrated connection points.
Original diagram from the supplied TS10455 instruction manual. Select to enlarge.
5
Assemble the climbing ramp
Attach the two parts labelled 7 and the two parts labelled 8 to ramp board 9. Use eight screws 10 (5 × 40mm). Follow the diagram for the direction of each attachment and the fixing positions.
Original diagram from the supplied TS10455 instruction manual. Select to enlarge.
6
Build the first side of the arch
Connect bars 5 to one curved arch panel 6 using nine screws 10 (5 × 40mm), as shown in step 6. Match the bar positions to the diagram before fastening.
Original diagram from the supplied TS10455 instruction manual. Select to enlarge.
7
Complete the climbing arch
Fit the second arch panel 6 to the opposite ends of the bars. Secure it using nine screws 10 (5 × 40mm), following step 7, and check that all bars are firmly connected.
Original diagram from the supplied TS10455 instruction manual. Select to enlarge.
8
Attach the rocker fabric
Position fabric part 15 on the inverted arch rocker and fasten it exactly as shown in step 8. Use the illustrated attachment arrangement; do not improvise alternative ties or fittings.
Original diagram from the supplied TS10455 instruction manual. Select to enlarge.
9
Position and secure the ramp
Place the climbing ramp onto the round bars of the climbing arch and climbing triangle in the configuration shown. Secure the connections with screws 16 and plastic sheets 17. Check step 9 and the explanation on printed pages 28–29 for the fixing arrangement before use.
Original diagram from the supplied TS10455 instruction manual. Select to enlarge.
Check before the first climb
Confirm that all parts are correctly installed and that nuts and bolts are secure. Inspect the main components regularly, including at the beginning of each usage season, and tighten fittings when required. Stop using the toy if anything is defective, and arrange replacement in accordance with the manufacturer’s instructions. Keep the full manual and supervise children throughout use.
Your questions, answered
What age and weight guidance does the manual give?
The supplied manual recommends ages 1+ and a child weight below 50kg. Adult supervision is required. This is the guidance in the supplied booklet; confirm that it matches the model label and the applicable BabyJoy product listing before use.
Can this climbing set be used outdoors?
The manual specifies indoor domestic use and says not to expose the toy to the sun. Follow those conditions rather than treating the set as outdoor equipment.
How should I secure the ramp?
The manual shows the ramp fixed to round bars on the climbing arch and triangle using screws 16 and plastic sheets 17. Follow step 9 and the explanation on printed pages 28–29. Do not leave out these fixings.
What if a screw quantity or part does not match?
Pause assembly and contact BabyJoy with your order details, the model label, the relevant step number and clear photos of the parts and manual. The early-step quantities in this booklet need clarification; do not substitute screws or guess missing connections.
What checks are needed after assembly?
Check the main components and all nuts and bolts regularly. Tighten fittings when required and replace defective parts according to the manufacturer’s instructions. Keep the toy on a suitable level surface with the required clearance.
Ready for the final check?
With the structure assembled, check every connection and confirm the placement and supervision requirements in the full manual before play. Keep the booklet nearby for future checks and maintenance.
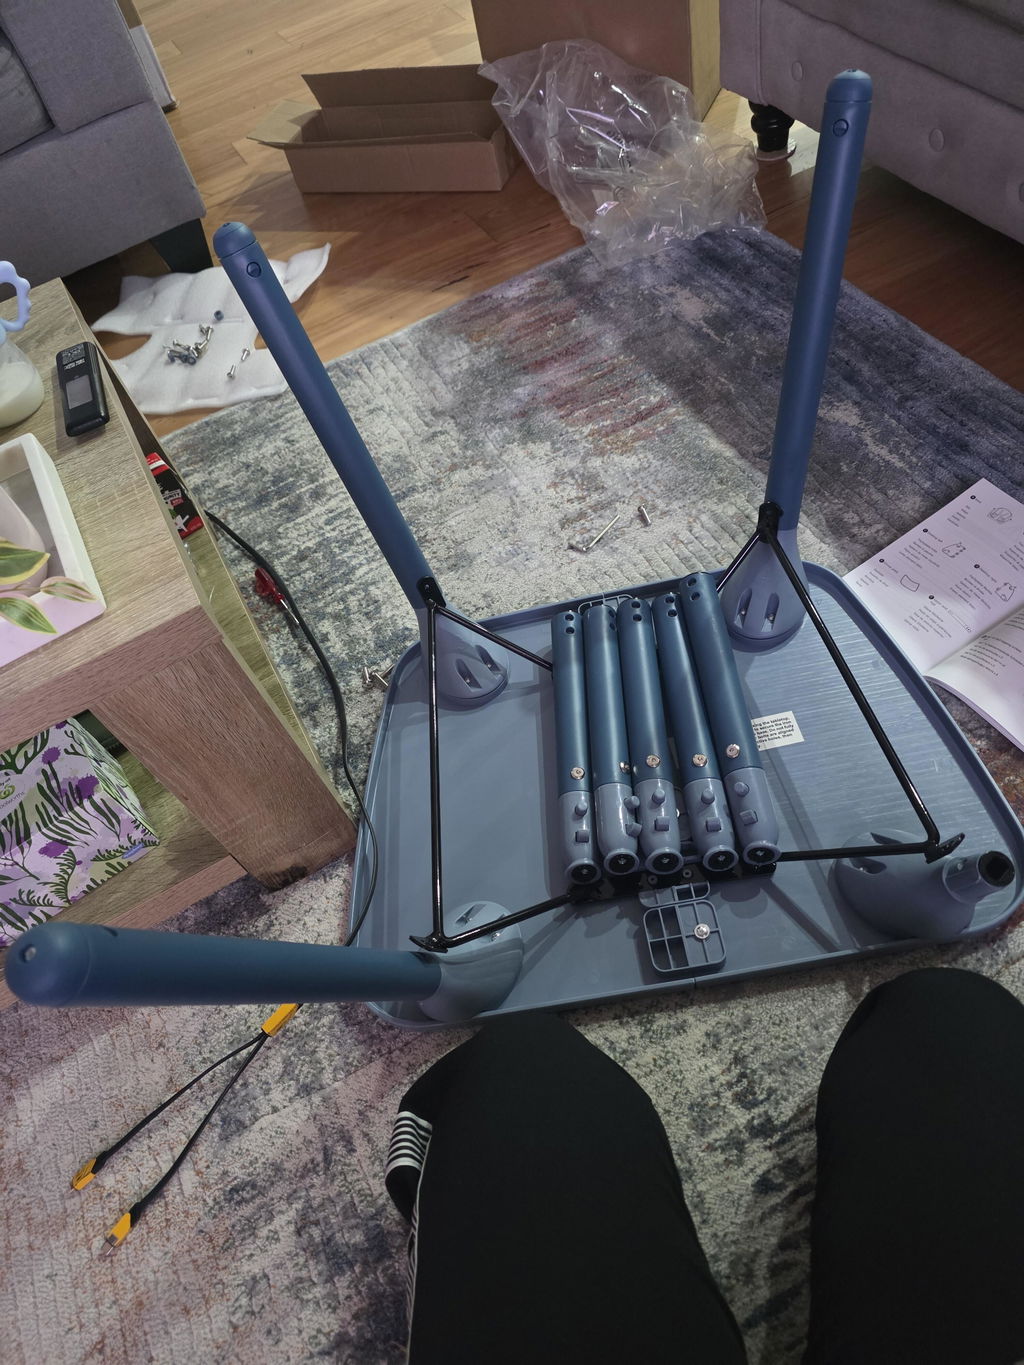
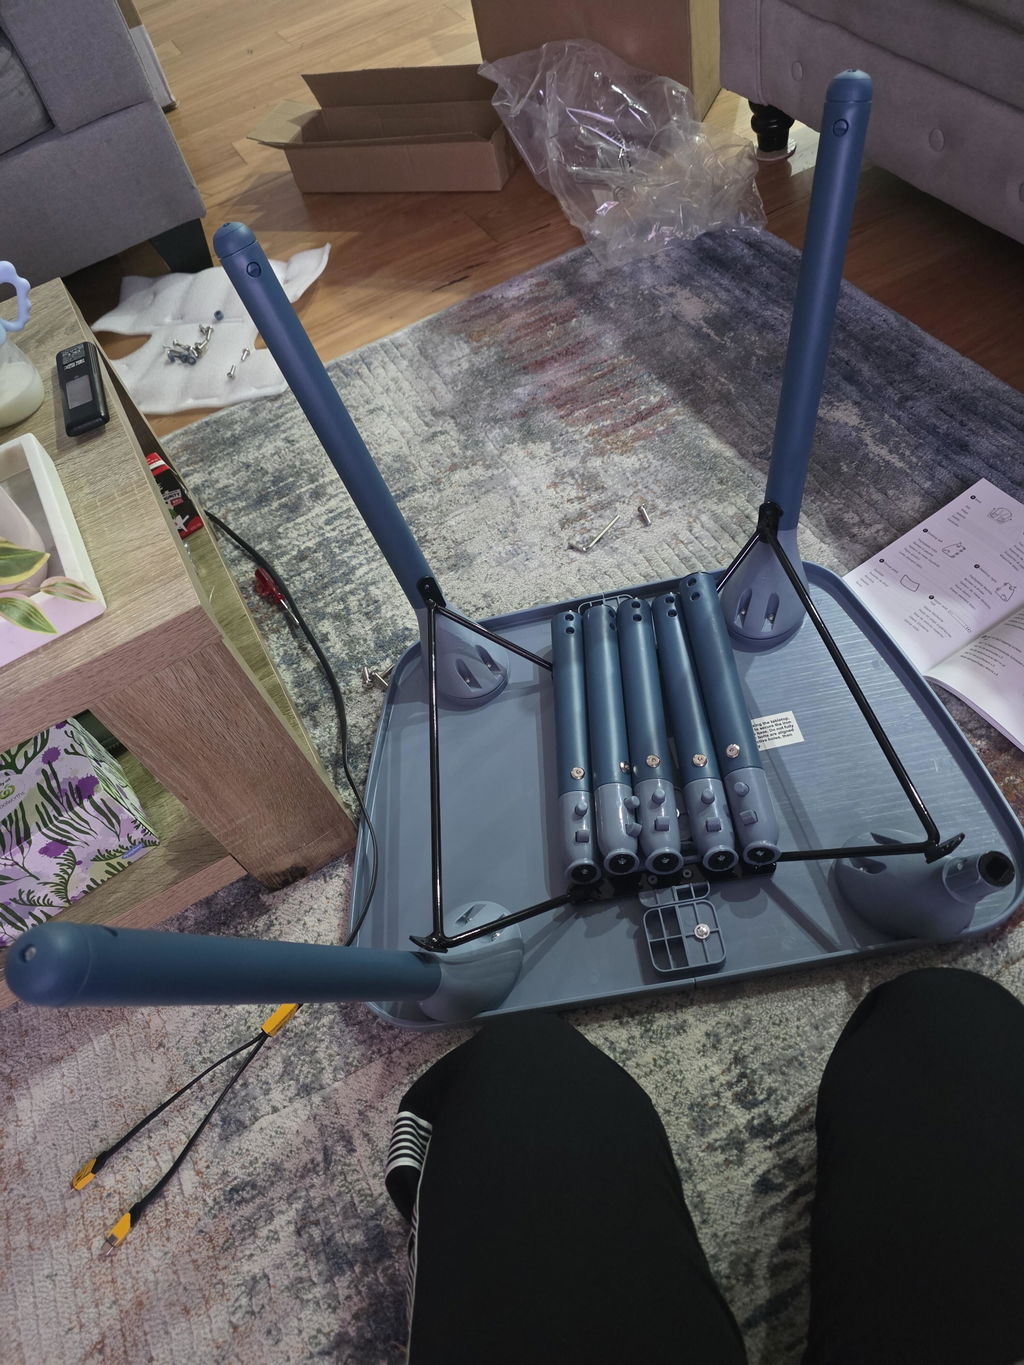
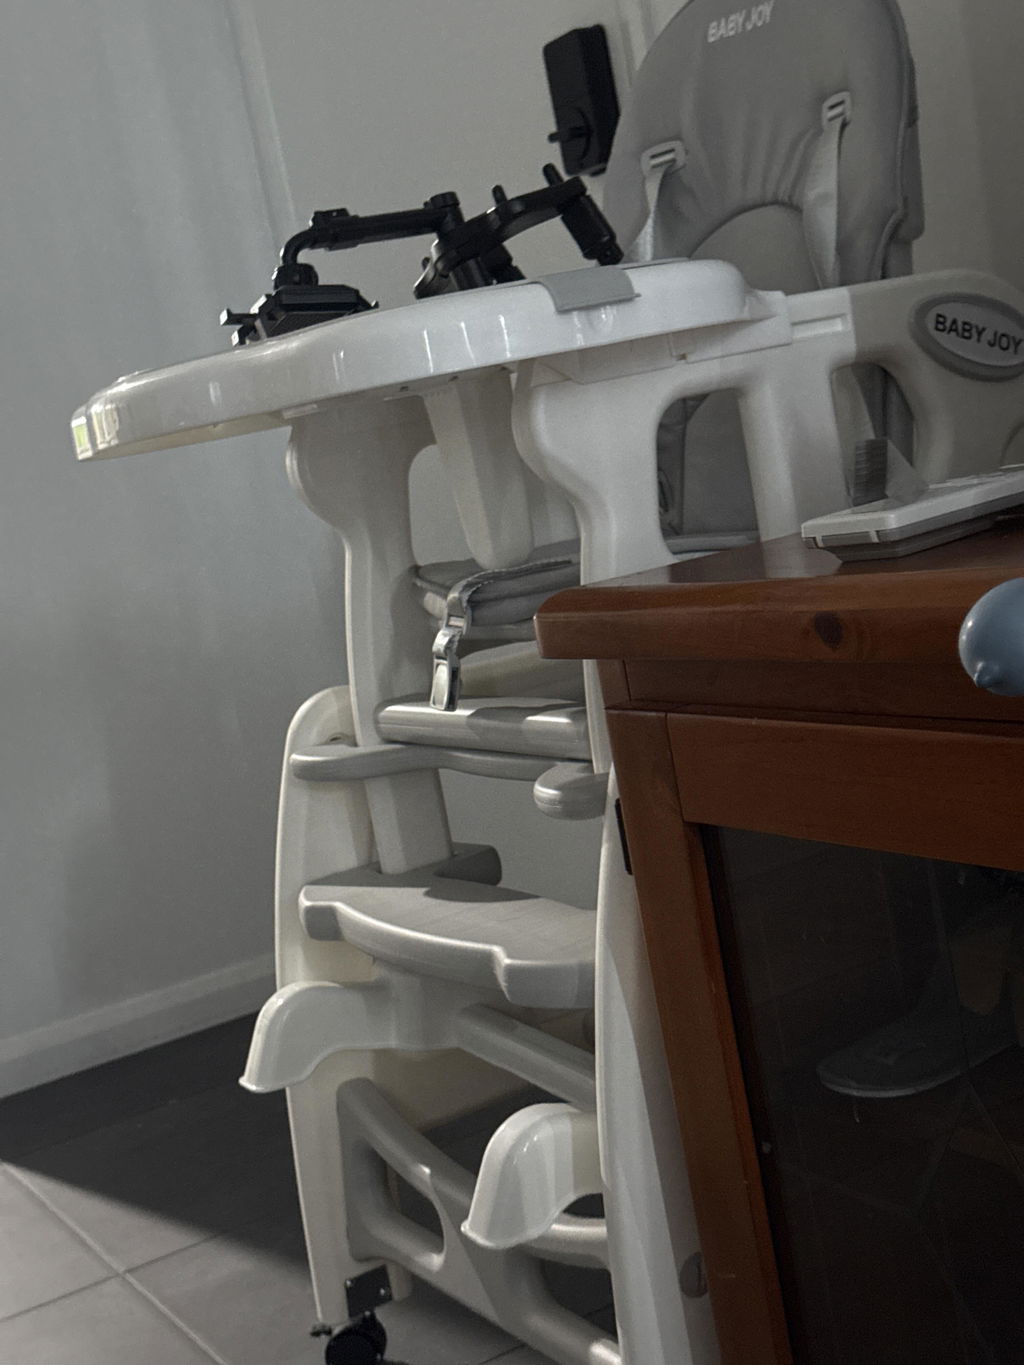
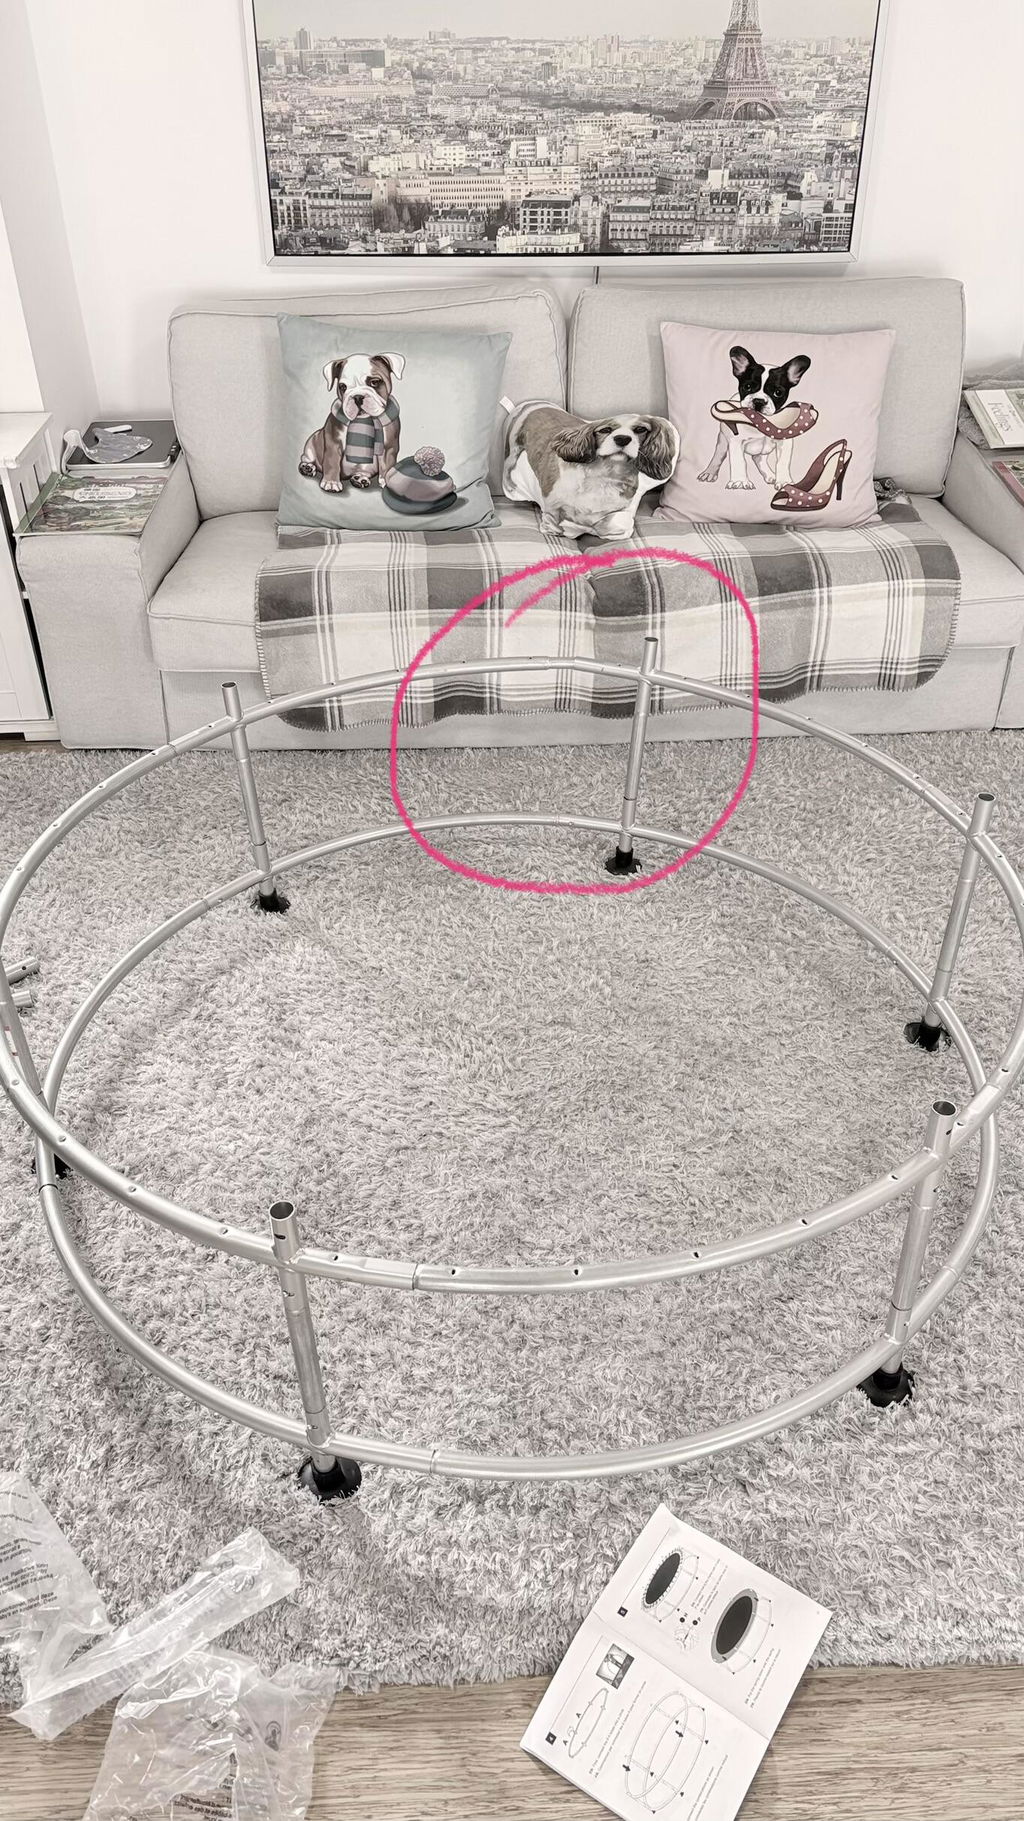
Hi I bought this table for my baby and there seems to be an error in the number of small and large legs There were 3 big legs and 5 small legs How can such a mistake happen please solve this problem
Hi there, we’re very sorry that your high chair arrived with the wrong number of legs. We understand how frustrating this must be. Our customer service team will reach out to you as soon as possible to help resolve this.
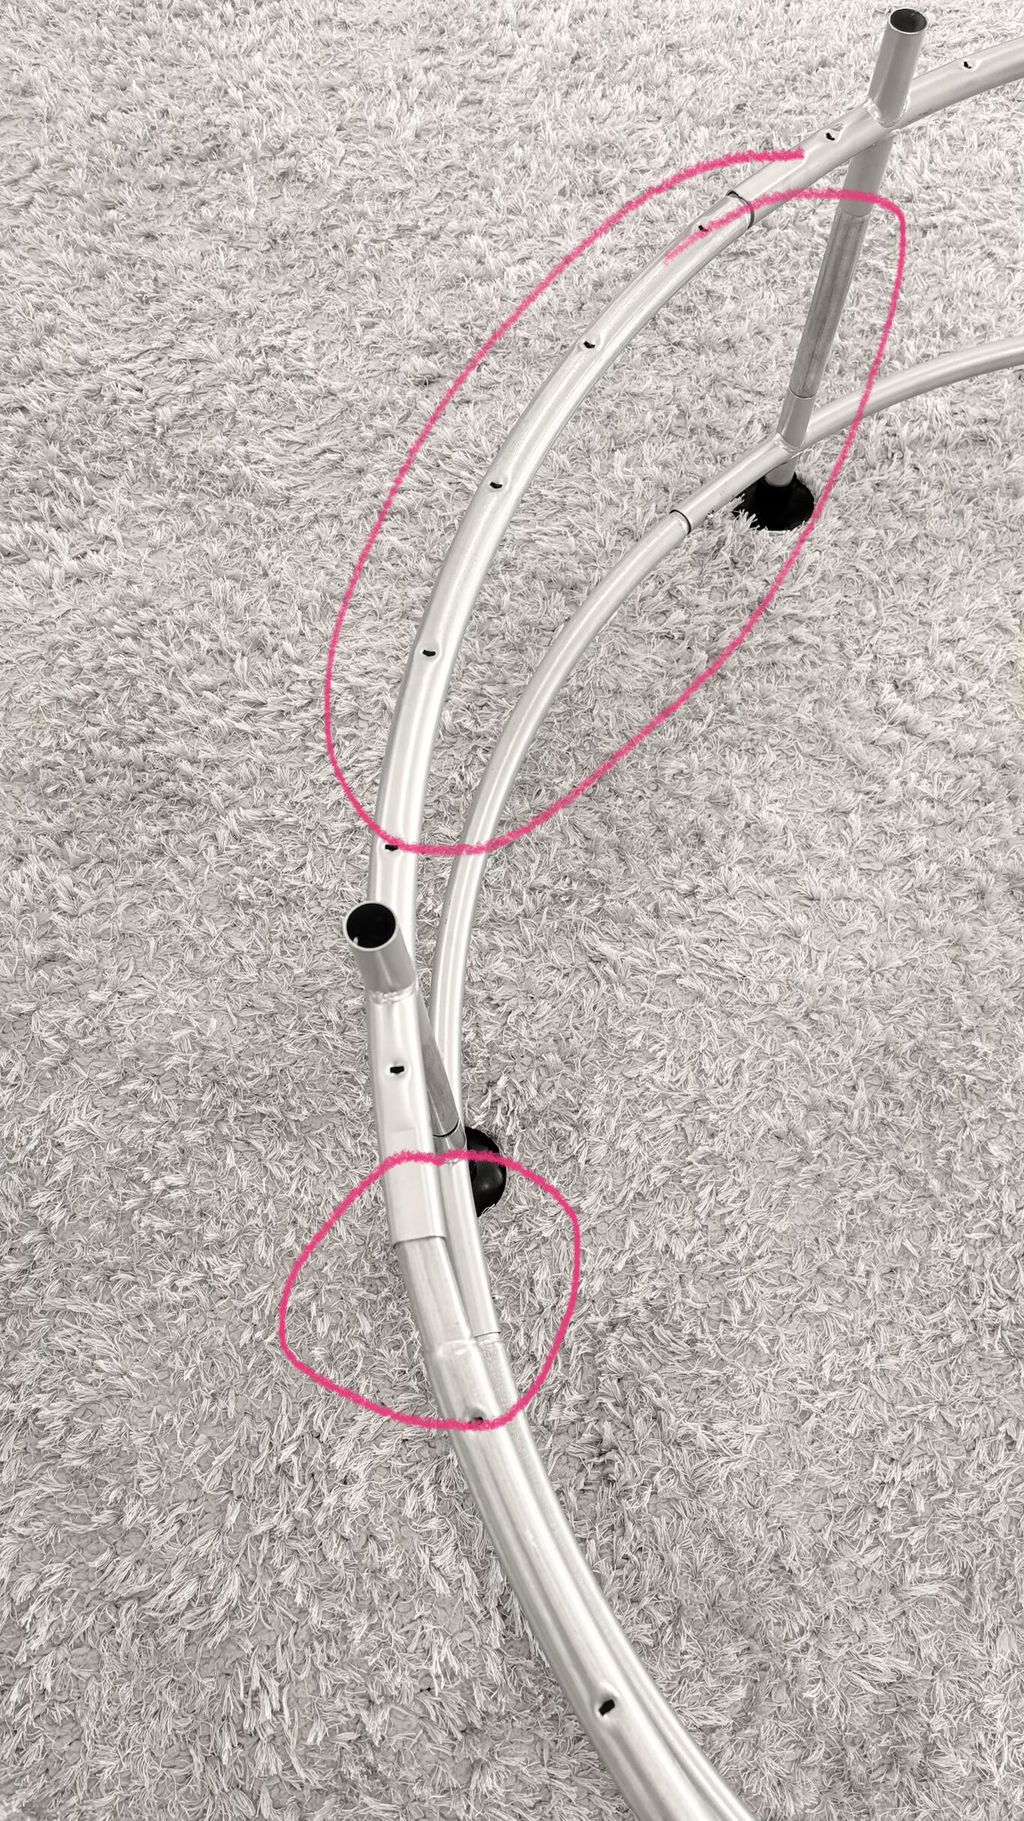
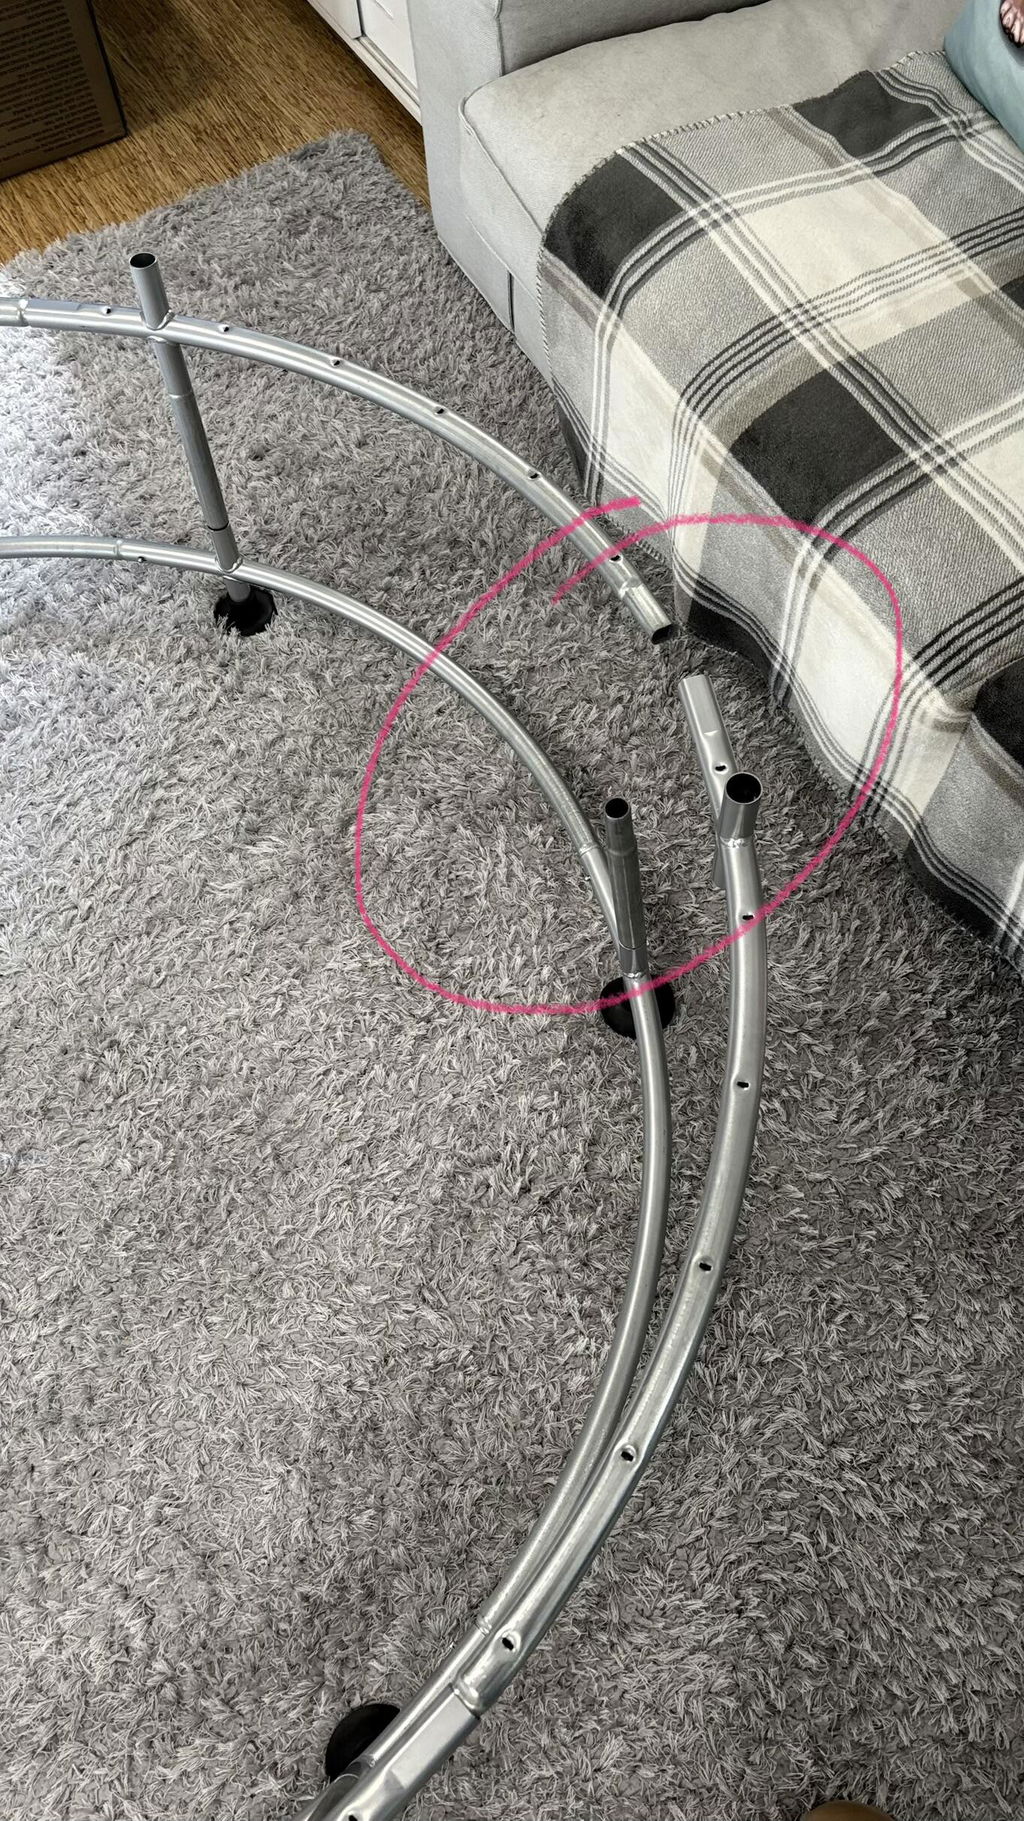
Unable to install as the frame was misaligned due to manufacturing error. Unable to get any response from Babyjoy either after 5 emails and no phone number or customer care. Can someone please get back to me ASAP!
Hi Betsy, we’re very sorry that you haven’t received a response after reaching out several times. Our customer service team will contact you as soon as possible to help resolve this.